A Detailed Guide to Growing Cloves From Seeds
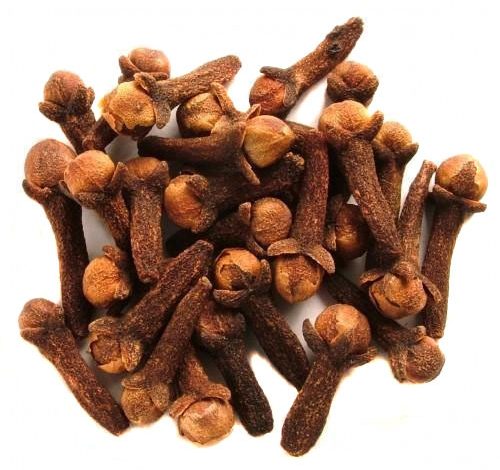
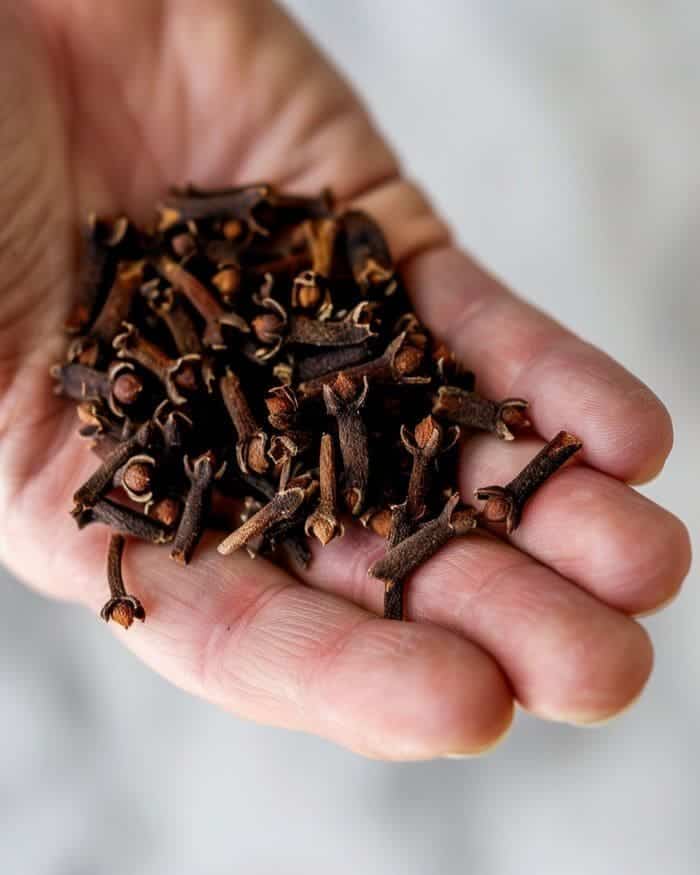
Clove trees (Syzygium aromaticum) are admired for their unique aroma, culinary applications, and health benefits. This tropical evergreen tree is valued for its antimicrobial, anti-inflammatory, and digestive properties, making it a staple in traditional medicine and global cuisines. Growing clove trees from seeds can be an immensely rewarding process, requiring patience and dedication. Here’s a detailed, step-by-step guide to help you cultivate cloves successfully.
Step 1: Sourcing Fresh Clove Seeds
The journey begins with acquiring viable seeds. Clove seeds lose their viability quickly after harvest, so it’s crucial to source them fresh. Ideally, obtain seeds directly from a local farmer in a tropical region. Ensure the seeds are still moist and plant them within 24 to 48 hours for optimal germination.
If you don’t have access to fresh seeds, consider contacting trusted nurseries or agricultural suppliers. Remember, the key is to act quickly to preserve the seeds’ vitality.
Step 2: Preparing the Soil
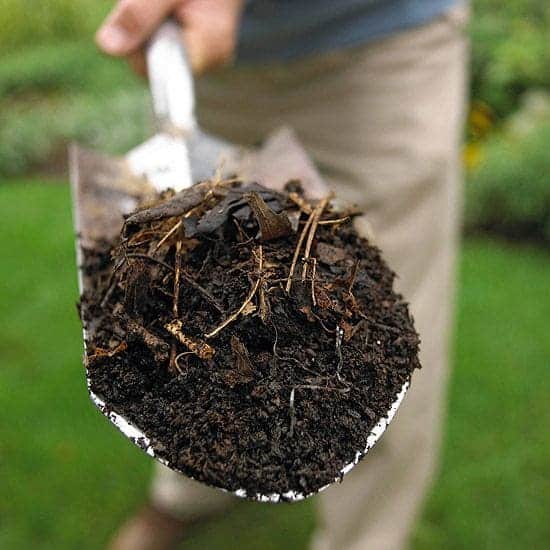
Clove trees thrive in well-drained, loamy soil. To create an ideal environment:
- Mix equal parts garden soil, organic compost, and sand to improve drainage.
- Check the soil’s pH and aim for a slightly acidic range of 5.5 to 6.5.
- Enrich the mixture with well-rotted manure or organic fertilizer for essential nutrients.
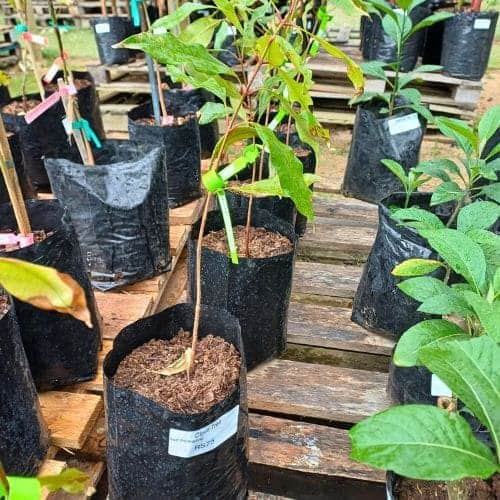
Once the soil is ready, fill small nursery bags with this mixture to prepare for planting.
Step 3: Planting the Seeds
Planting requires careful attention to detail:
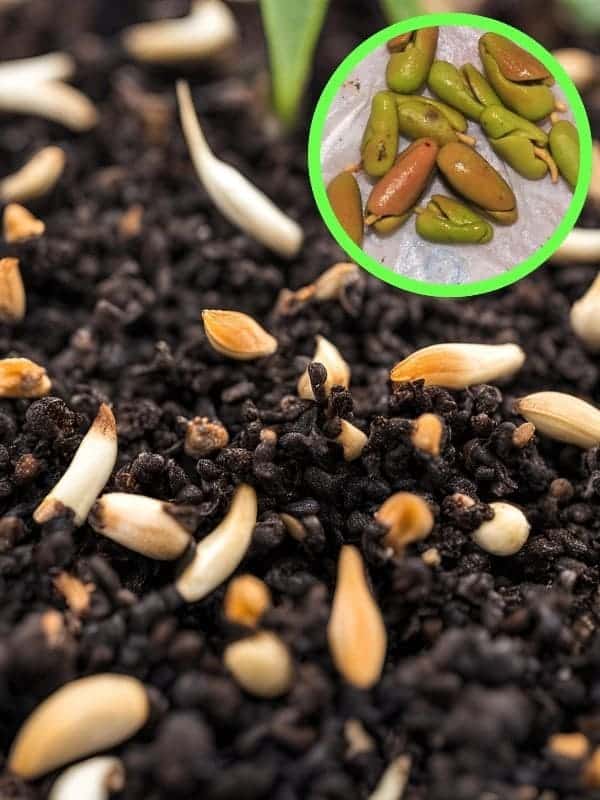
- Place each seed about an inch deep into the prepared soil with the pointed end facing upwards.
- Cover the seeds lightly with soil.
- Water gently to maintain consistent moisture without waterlogging.
Position the nursery bags in a partially shaded area to mimic the natural tropical environment. Monitor the soil daily, ensuring it remains moist but not soggy. Typically, the seeds will sprout within three weeks, marking the beginning of your clove-growing journey.
Step 4: Caring for the Seedlings
Once the seedlings emerge, nurture them meticulously:
- Keep them in the nursery bags for at least six months.
- Water regularly to maintain soil moisture.
- Apply a thin layer of organic mulch to retain water and regulate temperature.
- Protect the young seedlings from direct sunlight, as they are sensitive to harsh rays.
When the seedlings reach 8–10 inches in height and develop a robust root system, they’re ready for transplantation.
Step 5: Transplanting the Seedlings
Select a location in your garden with well-drained soil and partial shade. Follow these steps for successful transplantation:
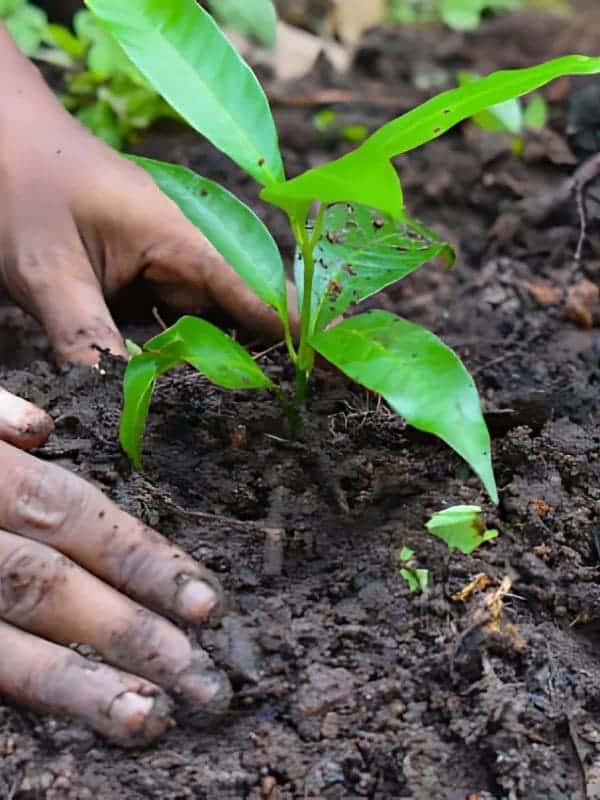
- Dig holes twice as wide and deep as the nursery bags.
- Gently remove the seedlings from their bags without disturbing the roots.
- Place the seedlings into the holes, backfill with soil, and water thoroughly.
This process ensures the young plants settle comfortably into their new environment.
Step 6: Providing Long-Term Care
Proper care is vital to ensure the healthy growth of your clove tree:
- Watering: Regular watering is crucial, especially during dry periods. Clove trees thrive in moist soil but are sensitive to waterlogging.
- Soil Maintenance: Enrich the soil with organic compost every few months to replenish nutrients. Mulch around the base to retain moisture and suppress weed growth.
- Pruning: Prune the tree to remove dead or damaged branches. This promotes airflow and encourages robust growth.
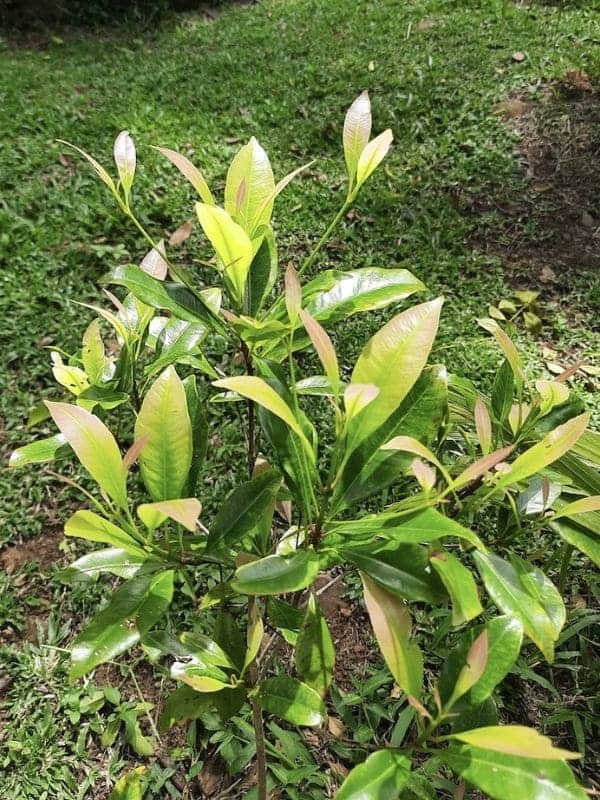
By the second year, the tree will display its glossy green leaves—a sign that it’s thriving in its environment.
Step 7: Harvesting Cloves
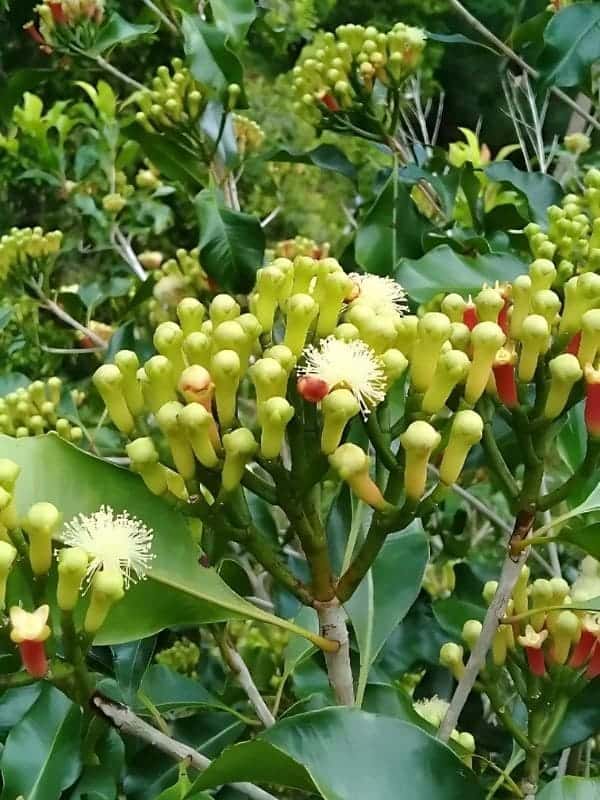
Patience pays off in the clove-growing journey. It takes approximately five years for the tree to produce its first flower buds. Here’s how to harvest them:
- Wait until the buds turn pink but have not yet bloomed. This stage ensures maximum aroma and quality.
- Carefully pick the buds by hand to avoid damaging the tree.
- Dry the buds under the sun until they darken and develop their characteristic fragrance.
The dried buds can then be stored in airtight containers to preserve their freshness and potency.
Final Thoughts
Growing clove trees from seeds is a labor of love that rewards you with fragrant, flavorful buds and a sense of accomplishment. By following these steps—sourcing fresh seeds, preparing nutrient-rich soil, nurturing seedlings, and providing long-term care—you can cultivate this tropical treasure successfully.
Whether you’re an aspiring gardener or a seasoned enthusiast, the clove-growing journey offers both challenges and satisfaction. Dive in, stay consistent, and enjoy the fruits of your effort—literally!