Tree Grafting: What It Is and 5 Steps to Master the Technique
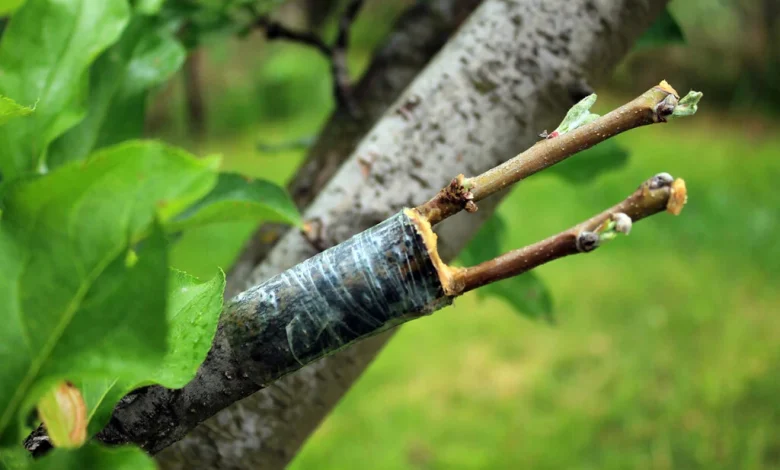
Grafting is a timeless horticultural method that can transform your gardening skills. Whether you’re looking to enhance fruit production, rescue a damaged tree, or propagate a rare variety, grafting allows you to combine the best traits of different plants into one thriving specimen.
Although it requires precision and patience, the process is highly rewarding. Let’s explore the fundamentals of grafting and guide you through five straightforward steps to success.
What Is Grafting?
Grafting involves joining two plants to grow as one.
- Rootstock: The lower part that provides the root system and structural support.
- Scion: The upper section, typically a shoot or branch, responsible for producing fruit or foliage.
The key to successful grafting is aligning the cambium layers—the growth tissue beneath the bark—of the rootstock and scion. This connection facilitates nutrient exchange and healing, enabling the graft to thrive.
When to Graft: The Best Timing
Grafting is most effective during the dormant season, typically late winter to early spring, before sap flow begins. This reduces stress on the plants and increases the chances of a successful union.
Essential Tools and Materials
To begin grafting, gather these supplies:
- A sharp knife or grafting tool
- Grafting tape
- Grafting wax or sealer
- Healthy rootstock
- Fresh scionwood
Popular Grafting Techniques
- Whip-and-Tongue Grafting:
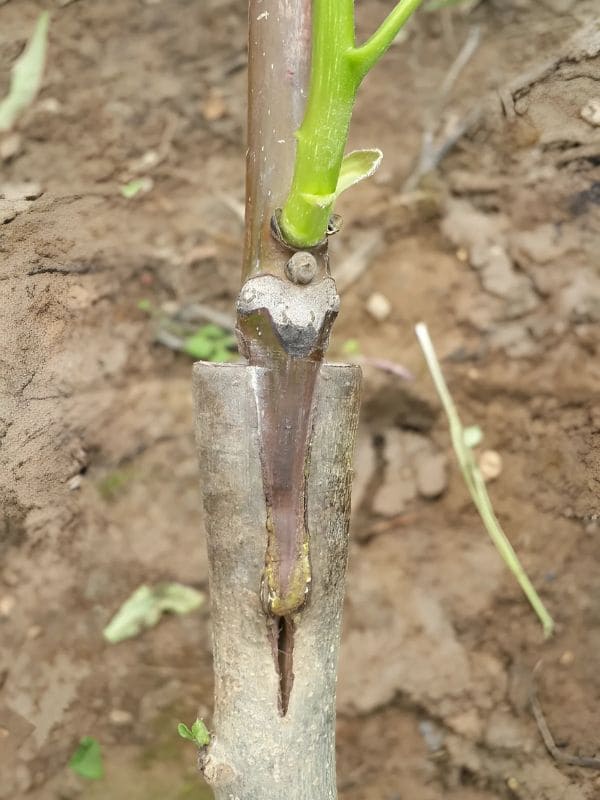
Ideal for small trees and young rootstocks, this method involves cutting both the scion and rootstock at an angle, creating interlocking “tongues” that fit securely together. - Cleft Grafting:
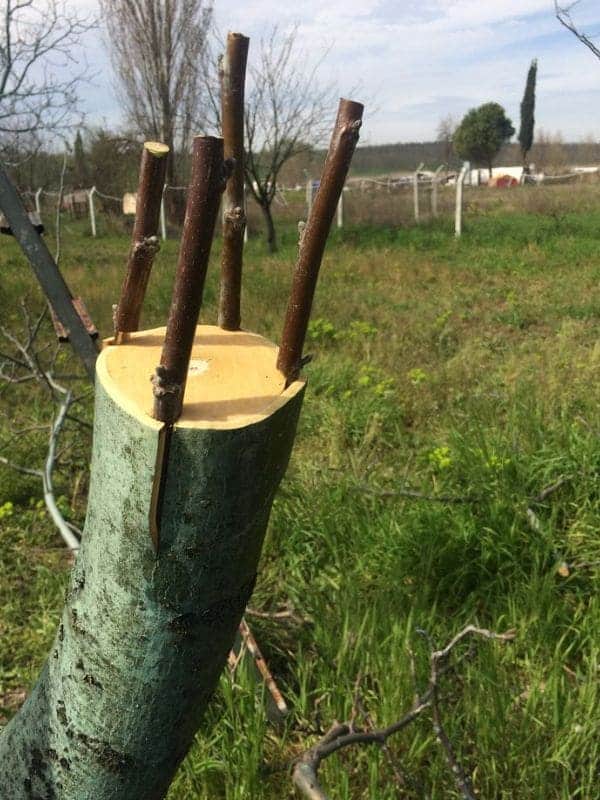
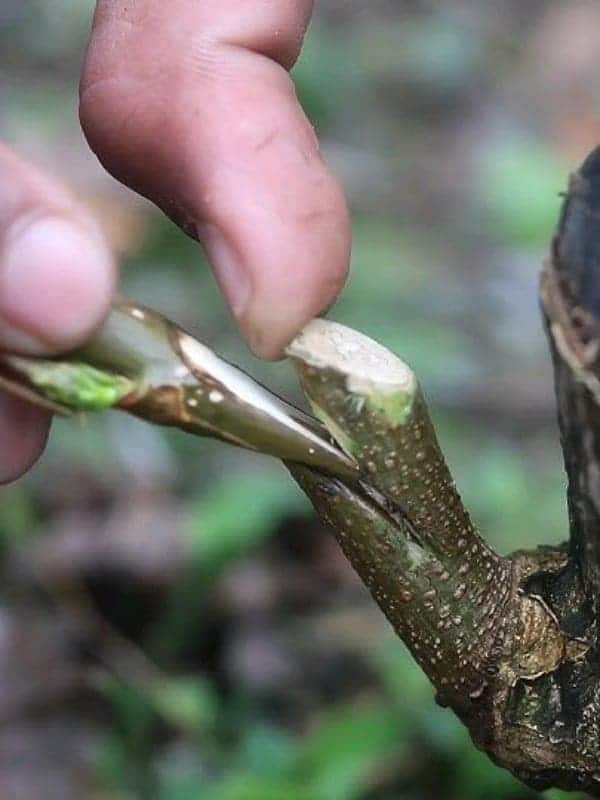
Perfect for larger rootstocks, cleft grafting involves splitting the rootstock and inserting a wedge-shaped scion. This method is often used for apple and pear trees. - Bark Grafting:
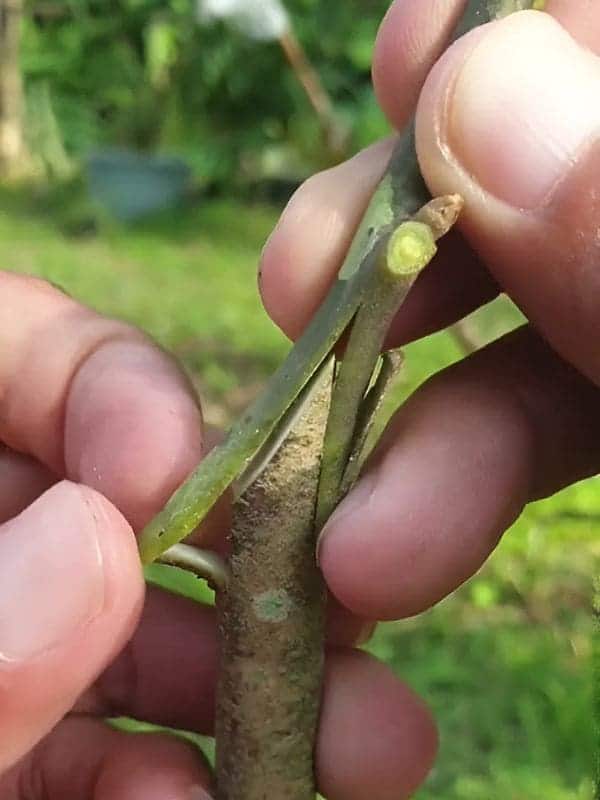
Suitable for older or thicker rootstocks, bark grafting requires cutting into the bark and sliding the scion underneath. It’s most effective when the tree begins to break dormancy. - Side-Veneer Grafting:
Commonly used for ornamental and dwarf varieties, this technique involves making a shallow cut on the rootstock and inserting the scion at a matching angle.
Step-by-Step Guide to Grafting Trees
Step 1: Prepare the Rootstock
Select healthy rootstock and make a clean, angled cut to expose fresh cambium tissue. For methods like whip-and-tongue or cleft grafting, ensure a smooth surface to create a strong union.
Step 2: Prepare the Scion
Choose a scion from recent or previous year’s growth. Cut it to match the rootstock’s angle or create a wedge for techniques like cleft grafting.
Step 3: Join the Scion and Rootstock
Carefully align the cambium layers of the scion and rootstock. For whip-and-tongue grafting, interlock the pieces securely. For cleft grafting, insert the scion into the rootstock’s cleft, ensuring good contact between the cambium layers.
Step 4: Secure the Graft
Wrap the graft tightly with grafting tape to hold it in place, then seal the union with grafting wax to retain moisture and prevent infections.
Step 5: Aftercare and Monitoring
Place the grafted tree in a shaded area to minimize sun exposure. Keep the soil moist but not waterlogged, and use protective measures against pests if necessary. After 6–8 weeks, remove the grafting tape and apply a balanced fertilizer once the scion shows healthy growth.
Common Challenges and Solutions
- Graft Rejection: Poor cambium alignment or incompatible rootstock and scion can cause failure. Ensure compatibility before starting.
- Improper Alignment: Clean, precise cuts are critical to successful healing.
- Drying Out: Seal the union with wax and maintain humidity to prevent dehydration.
Tree grafting is a valuable skill for gardeners, offering the opportunity to create healthier, more productive plants. By mastering these steps and techniques, you’ll unlock the full potential of your garden.